Emily Buehler Tag

[caption id="attachment_17444" align="aligncenter" width="630"] Collograph with Feather and Fabric[/caption] Last month’s printmaking class didn’t go as I’d planned. The class was “Printmaking Paradise,” a survey of techniques, taught by Sally and Dick Walsh. In class, Sally taught us a few techniques each day. Some used the printing press, and some we could do at home with no fancy equipment. Sally encouraged us to have fun: to try everything but to go with the techniques we resonated with. On day one, we tackled collagraphs. They seemed simple enough: spread ink onto a piece of matte board, lay found objects on top, cover with paper, and run the whole thing through the printing press. The first print will be a little sloppy, but the second and third will have more defined features, showing the textures of the objects. Sally’s example had a beautifully detailed feather printed on it. I waited with eager fingers for my print to roll through the press. Then I peeled it off the board. My feather had printed as a disappointing white blotch: not enough ink. “Make another one!” Dick suggested, so I did, this time gopping on the ink under my feather. You can’t understand the process until you do it, I thought. Why did I expect things to be perfect the first time?

drawings [caption id="attachment_15062" align="alignright" width="225"]Lighting a still life with vase and grasses Lighting a still life with vase and grasses[/caption] What’s better than a week at the Folk School? Two weeks, of course. That’s why after teaching the Science of Bread in May I stayed to take Drawing Techniques and Tools with Pebbie Mott and Pam Beagle-Daresta. The first day we learned about the tools we’d be trying: drawing pencils (which range in darkness from the pale 9H to the black 9B), water color pencils (draw, then add water), charcoals (soft and hard, plus white to use on gray paper), ink with a brush and bamboo pen (Pam brought walnut ink she’d made in a previous class), and Micron pens. After trying the techniques, we’d pick one for a final project. [caption id="attachment_15060" align="aligncenter" width="630"]White vessel to practice values with light and shadows White vessel to practice values with light and shadows[/caption]

IMG_9177_650pxEvery year, we have a sweet tooth soothing tradition in Emily Buehler's bread baking class. On Thursday, students team up to make a special recipe: Emily's Mom's Sticky Buns. The beginning of the week is spent learning the basics of  breads like baguettes, sourdough loaves and whole wheat sandwich bread. By Thursday, students are happy to shift gears from savory to sweet for this divine gooey treat. 

[caption id="attachment_13059" align="aligncenter" width="600"]The "Science of Bread" Class Photo, May 2015 The "Science of Bread" Class Photo, May 2015[/caption] Magical. That’s the word used over and over to describe a week at the Folk School. And there’s always something that makes the visit extra special: last May it was the baby barn swallows peeking over the edges of their nests in the rafters outside Davidson Hall. Bread-OutdoorTrio This year it was the mountain laurel in full bloom; the mother-to-be barn swallows sat patiently atop their nests. The Folk School is a magical place, but also, when you’re there, you slow down and pay attention to things like the birds and flowers. [caption id="attachment_13066" align="alignright" width="215"]Nicholas holds the focaccia fresh out of the oven. Nicholas holds the focaccia fresh out of the oven.[/caption] I was at the Folk School last week to teach my annual “Science of Bread” class—not a magical name by any means, but bread-making can be wondrous even when you know about the microorganisms and molecules that make it work. In addition to making dozens of loaves, the class started a sourdough starter by attracting wild yeasts and bread-making bacteria from the air into a container of flour and water. They also braved the production of salt-rising bread, a first for me. Making salt-rising bread is similar to creating a sourdough starter in that ingredients (in our case, raw potatoes, corn meal, sugar, and baking soda) are left out to attract microorganisms that cause the bread to rise when the dough is mixed the next day. (“Salt-rising” is a misnomer.) The ingredients are kept at 110 degrees, however, so that the microorganisms attracted to the mixture are different than the usual ones; this results in the unique flavor and aroma of salt-rising bread.

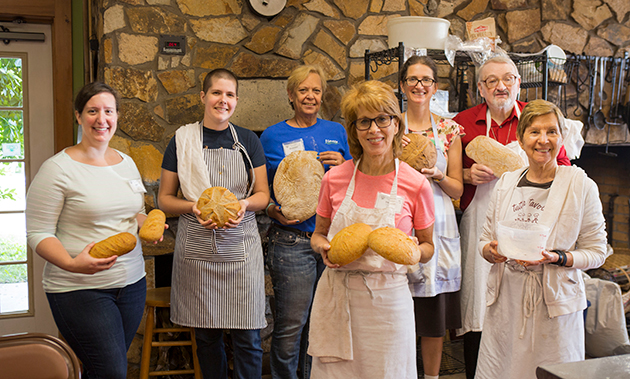
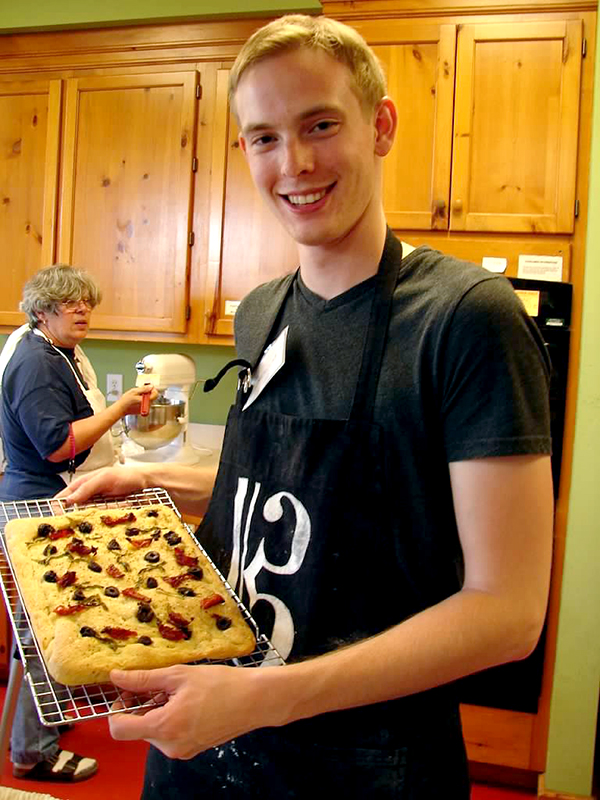
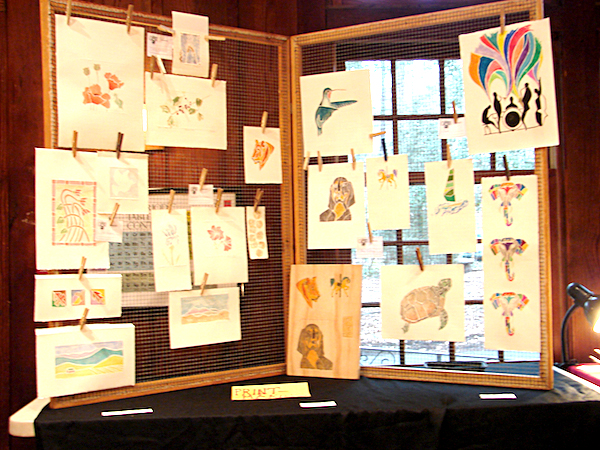
[caption id="attachment_10916" align="aligncenter" width="459"]IMG_3953 Emily demonstrates how to shape focaccia dough to the class[/caption] You wouldn’t start your oil painting career at an easel on the midway of the state fairgrounds, surrounded by people, tents, and trees with the sky overhead and the light shifting throughout the day. Instead you’d set up some apples on a tablecloth, lit by a desk lamp to create obvious shadows that don’t move. Once you’d practiced how to capture a simple scene—sketching it out, building the shadows, painting the background to make the objects pop—you’d move on, maybe to a plant or some dishware. 
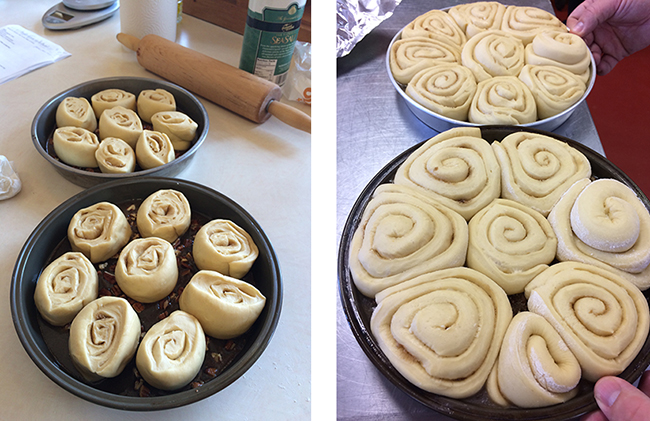
[caption id="attachment_10911" align="alignleft" width="212"]Vickie shows off her finished loaf 
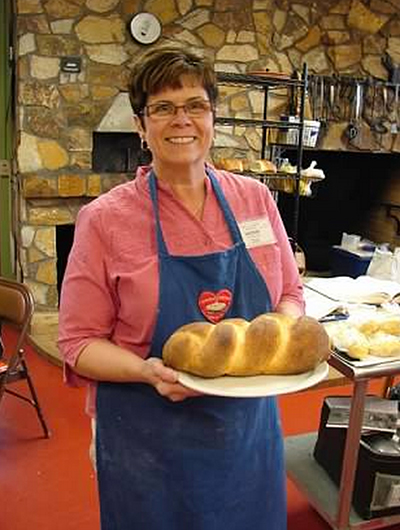
Finished loaf[/caption] 
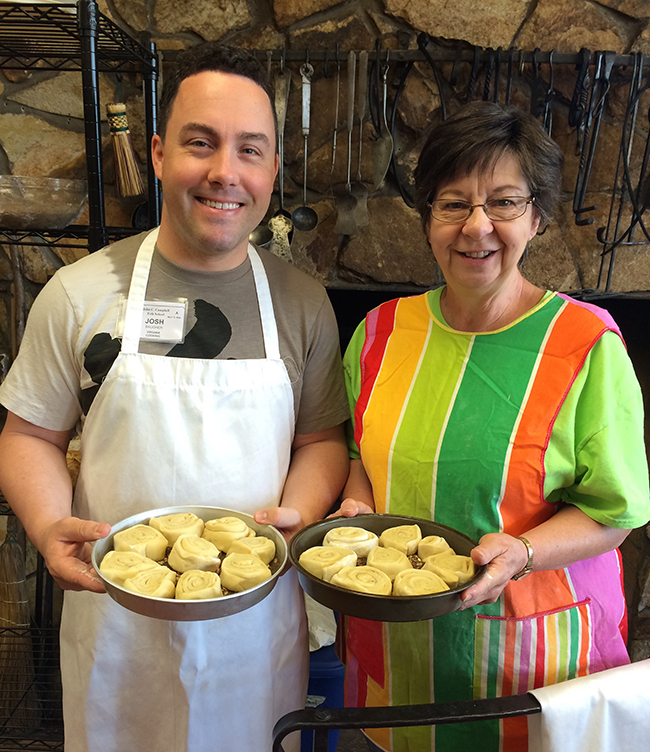
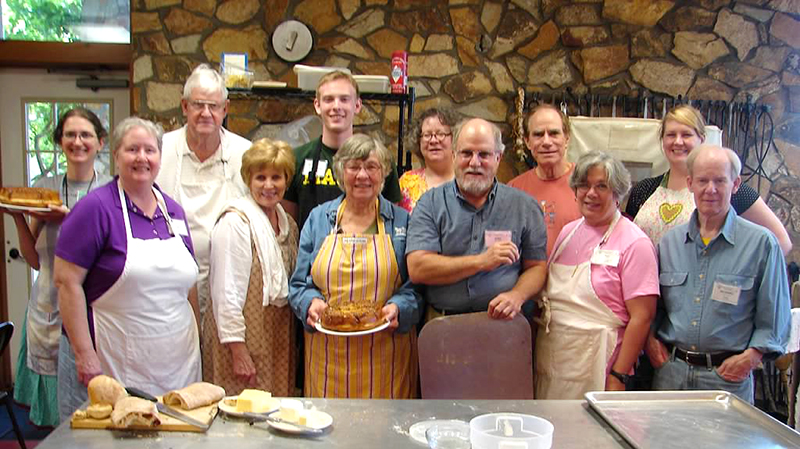
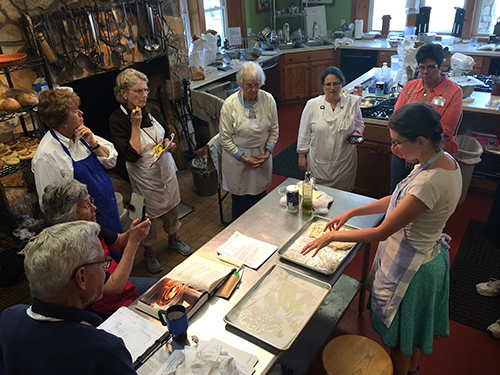
Similarly, last week’s “Science of Bread” class started with the most basic bread possible: a French baguette made with flour, yeast, water, and salt. Each student made a pair of baguettes on Monday, with the class moving one step at a time. Keeping everyone on one schedule enabled me to demo each step of the process (kneading, folding, shaping, baking) as it happened. While the doughs rose, we discussed the chemistry occurring inside and how it affects the final product. We covered practical tips for managing dough at home, like using a desk lamp to keep rising dough warm in winter months; best practices, like using a pizza stone in the oven (and how to use it properly!); and tricks to get better bread, like preheating your oven hotter than desired to make up for the heat lost when the door opens to load the dough.

[caption id="attachment_9620" align="aligncenter" width="425"]"Crow" Block and Print by Sandy Webster instructor of "White-line Printmaking" January 5-11, 2014 "Crow" Block and Print by Sandy Webster[/caption]

A lot of people think they can't dance. But then they try contra dancing: they can jump right in as a beginner. The moves are straightforward, and they don't need any special skills. With practice, they become smoother and learn some extra moves, but the initial learning curve is a mere ripple in the road.

White line printmaking is the contra dance of the art world. I spent last week in Sandy Webster's printmaking class and enjoyed every minute of it.

I'd chosen the class for many reasons: I like how woodblock prints look, and the class had a low materials cost. I would not have to buy expensive tools and could use my old watercolor set. As I had hoped, the technique proved to be one that I can easily continue to do at home, even without a studio space.

[caption id="attachment_9617" align="aligncenter" width="425"]"White-line Printmaking" Process: Poppy Line Drawing, Poppy Board, Poppy Print White-line Printmaking Process: Line Drawing, Board, and Print by Emily Buehler[/caption]