24 Aug Wood Engraving: Carve Lightly
Enjoy a student perspective from a Wood Engraving class from Folk School bread baking instructor Emily Buehler.
When I signed up for wood engraving class with Joanne Price at the Folk School, I had a vague idea that it was some kind of print-making using wood blocks. It turns out, wood engraving is my dream art come true. It requires little hand strength and a huge amount of patience: the legions of tiny marks made on the block are cut bit by bit, with frequent pauses to sit up straight and let out a deep breath. Wood engraving is the perfect art form for both clearing your mind and relaxing your body.
What is wood engraving?
Everyone knows what a woodcut print is: the artist uses gouging tools to remove lines and areas of wood, which remain white when the block is rolled with ink and printed. Gouging the wood takes a lot of effort. Also, the “plank grain” or the side of the tree is the cutting surface.
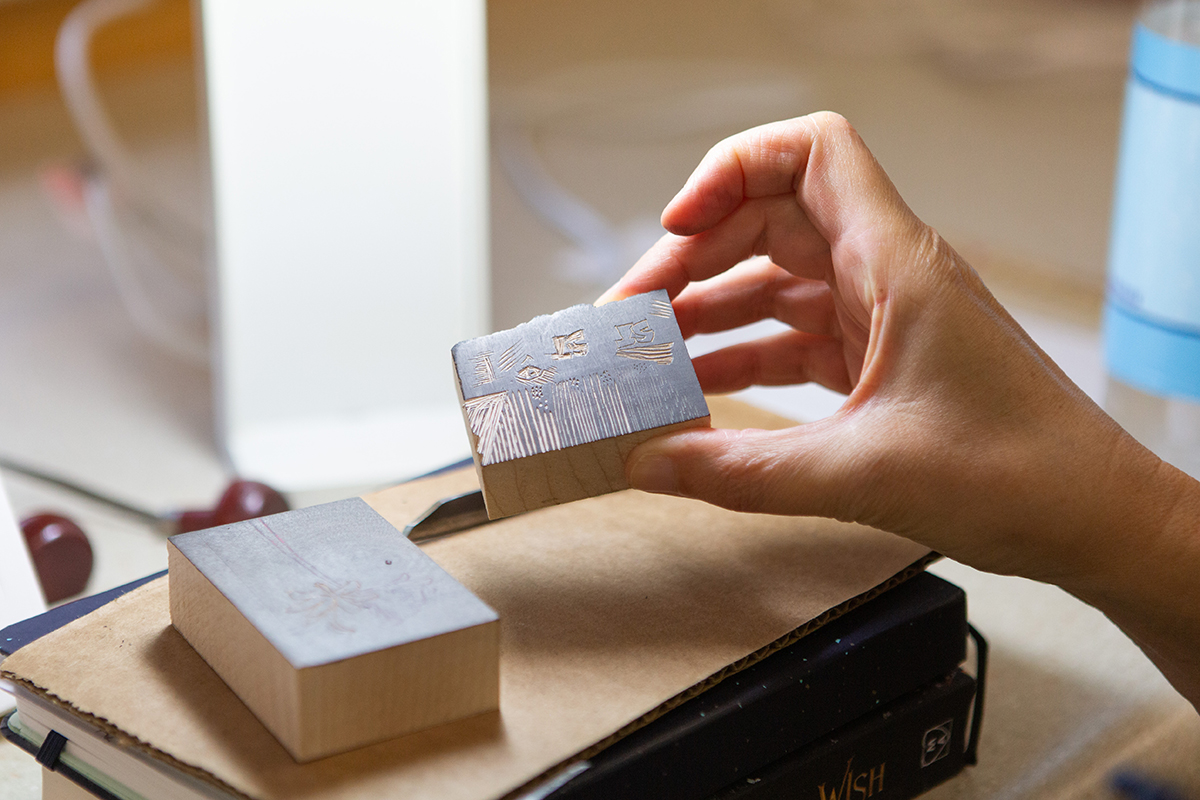
By contrast, wood engraving carves the “end grain” or the cross-section of the tree and requires very hard, dense woods. (The ideal is boxwood, but we used rock maple.) The burin tools have fine points and can curl away tiny bits of the wood with little force. Much finer details are possible, and the hard blocks can withstand the printing process and be printed 1,000 times on a press with no degradation of the image.
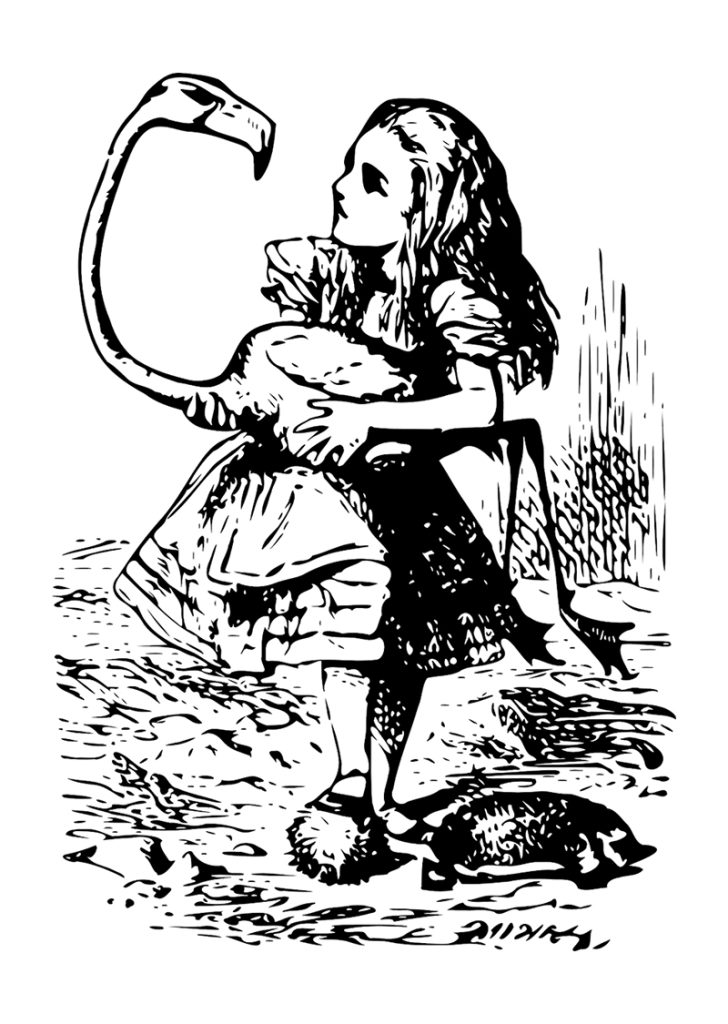
Wood engraving had a heyday in the 1800s into the 1900s. It could be paired with text by using blocks with a height that matched the standard height of type. It was used for book and magazine illustrations (like the famous Tenniel illustrations of the Alice in Wonderland books) and for ephemera like advertisements, business cards, and periodicals like the Sears Roebuck catalog. Engravers made copies of famous paintings, and their prints in a magazine might be the only way the average person would ever see the artwork. Loads of people worked anonymously as wood engravers, including women, who could do the work at home.
Photography eventually superseded wood engraving in many utilitarian contexts, but it continues today as an art form.
How wood engraving works
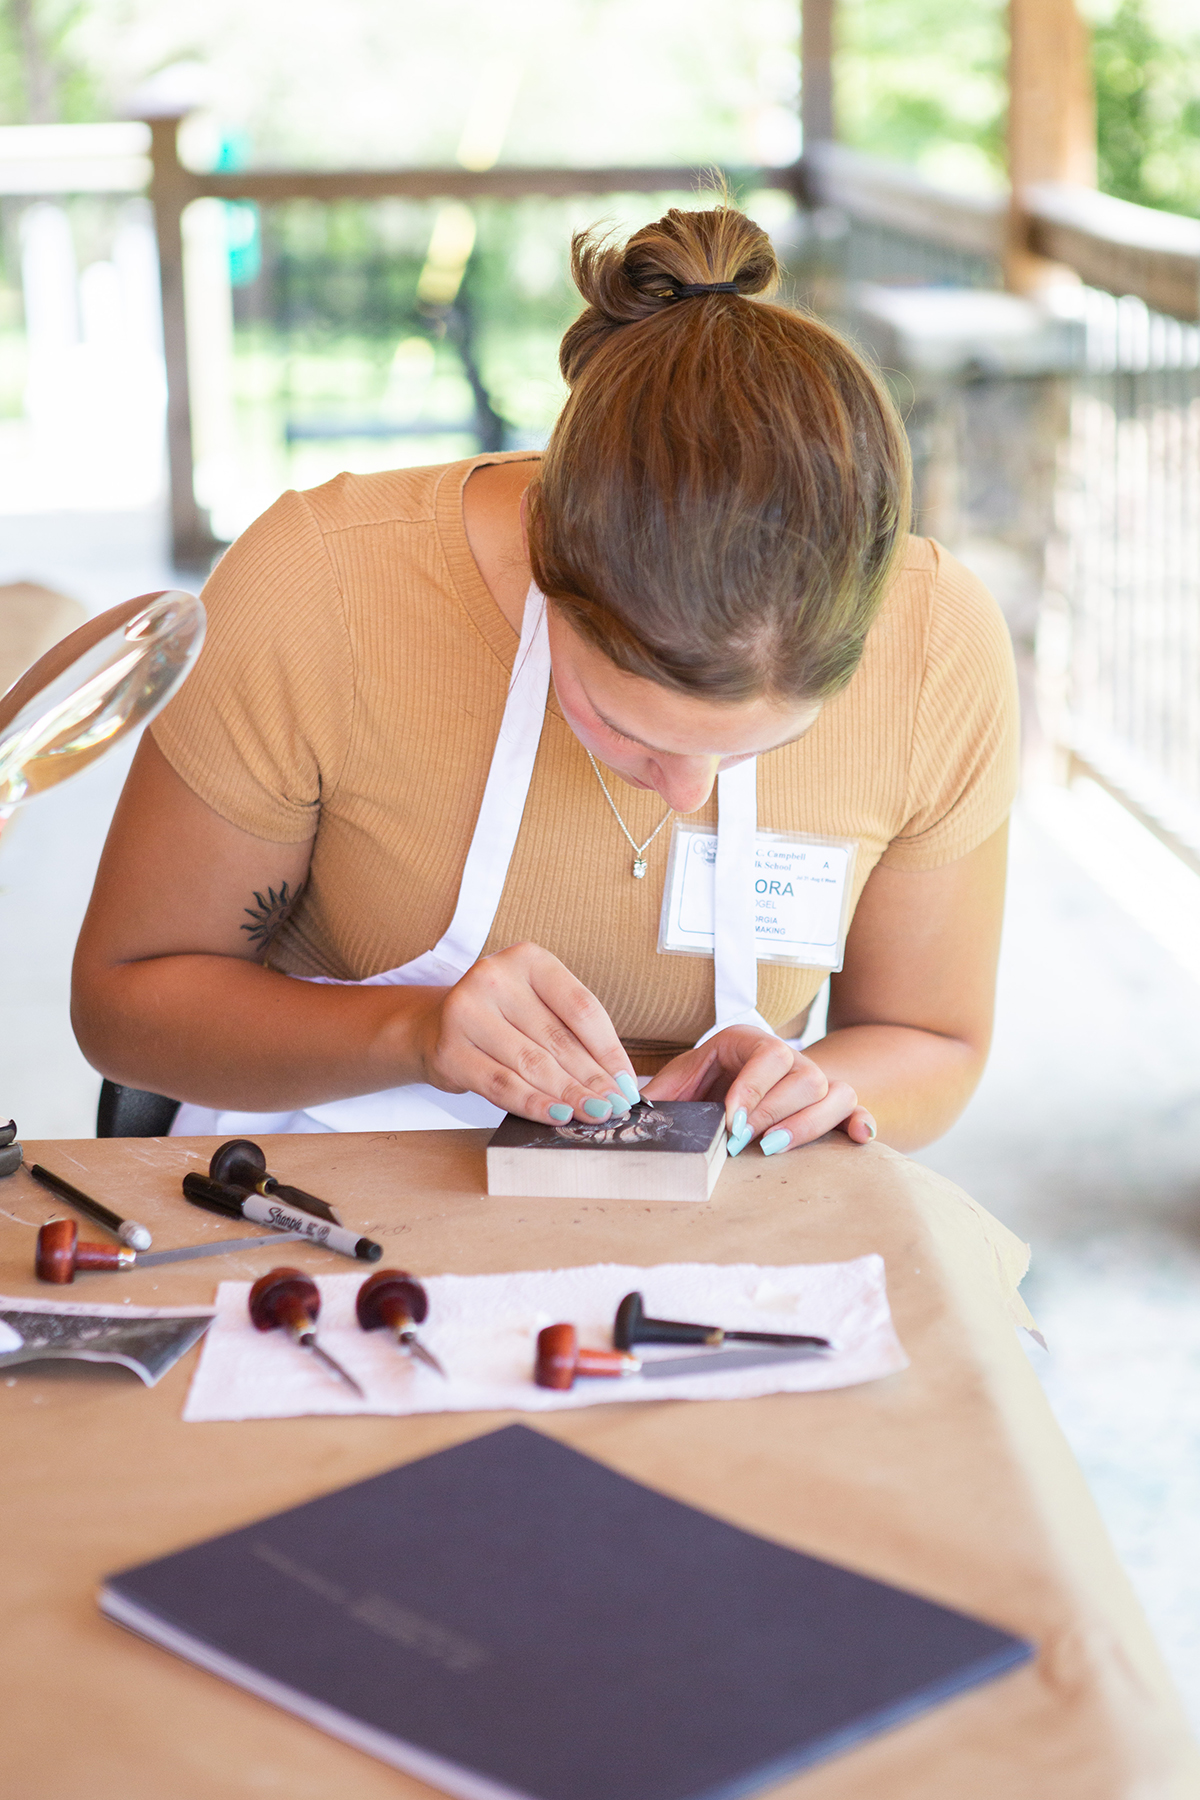
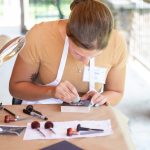
In class, we started by engraving on sample blocks. One main tool, the spit sticker, could be used to make thin lines and thick lines by applying less or more pressure. Patterns of lines or dots are used to create areas with a range of gray tones. Tint tools are used to make very thin lines, while other tools can gouge away a larger amount of wood or make a line that widens as it progresses. Each type of tool comes in various sizes. Honestly, for a beginner, the tools all looked somewhat similar. The main thing affecting the cuts seemed to be the pressure and control of the hand.
During her demo, Joanne showed us how to hold the tool and position the block for comfortable sitting. She cut away tiny bits of wood, one to two millimeters at a time, stopping frequently. There’s a danger of the tool slipping out of a cut and sliding across the block surface, and even the barest mark will appear in the print. The general rule is, if you feel yourself forcing the tool, STOP. That’s when you’re in danger of a slip.
There’s no “undo” button in wood engraving as there is in many aspects of modern life. You can’t hurry along without much thought or worry about consequences. You have to slow down and work carefully and intentionally. My classmate Roseanne noted, “The harder you push, the more you get stuck.” When you get stuck, you have to stop and “reset.” Usually, I’d stop carving to find myself hunched over, all my muscles clenched tight. I’d sit up, look around, and take a deep breath before starting again. Sometimes it took one or two rounds of this before the tool would move again. Wood engraving keeps reminding you to slow down and relax. Life lessons through wood engraving!
The blocks could be printed by hand or using a press. With the press, setting it up (positioning the block on the press bed, and finding the exact height to apply the right amount of pressure) takes time, but once set up, printing goes fast. The press also gives a deeper, solid color. Printing by hand was useful to do “test proofs” to see how the image was progressing. While the color might not be as deep, it had a nice look to it. I liked that the hand method could be used at home. Wood engraving is the perfect art form for someone without a lot of studio space!

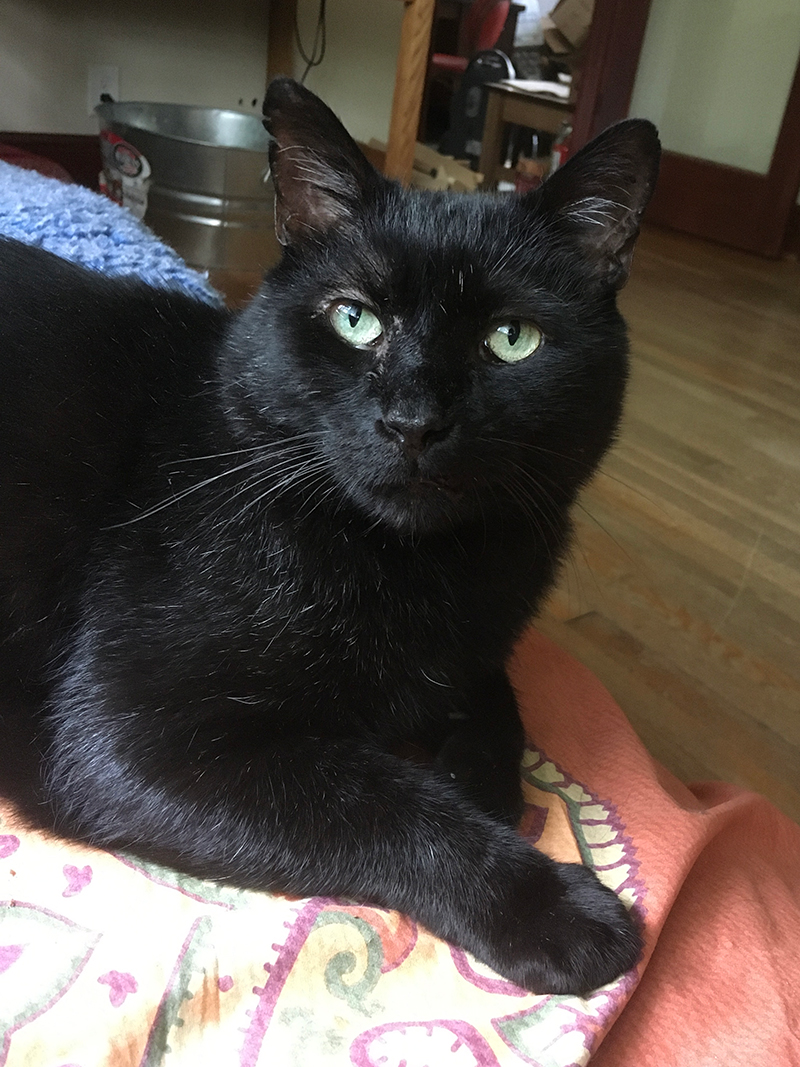
Engraving my cat
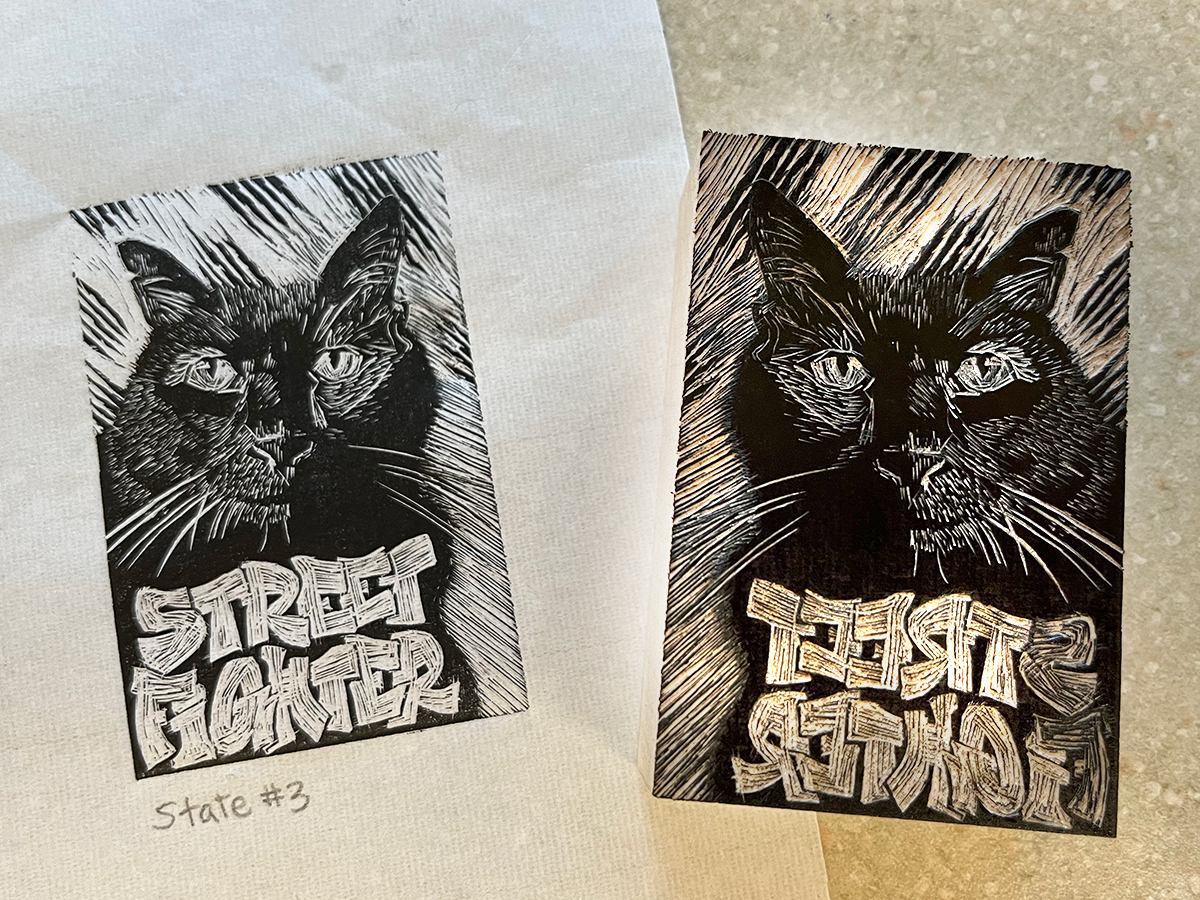
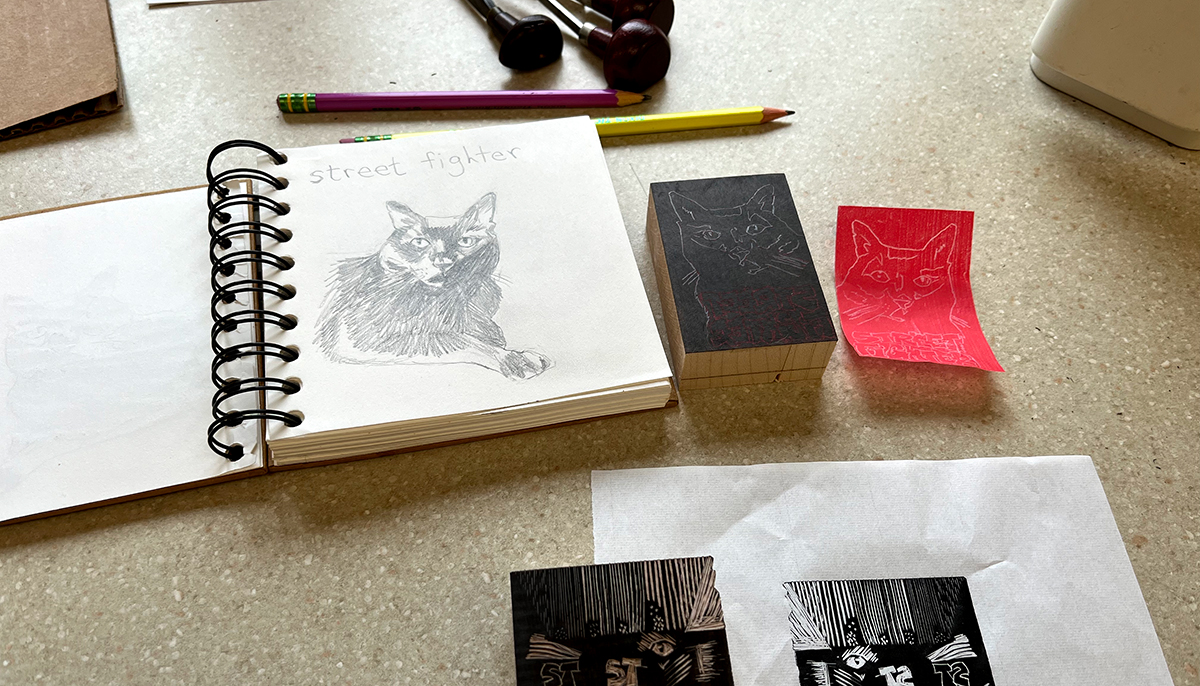
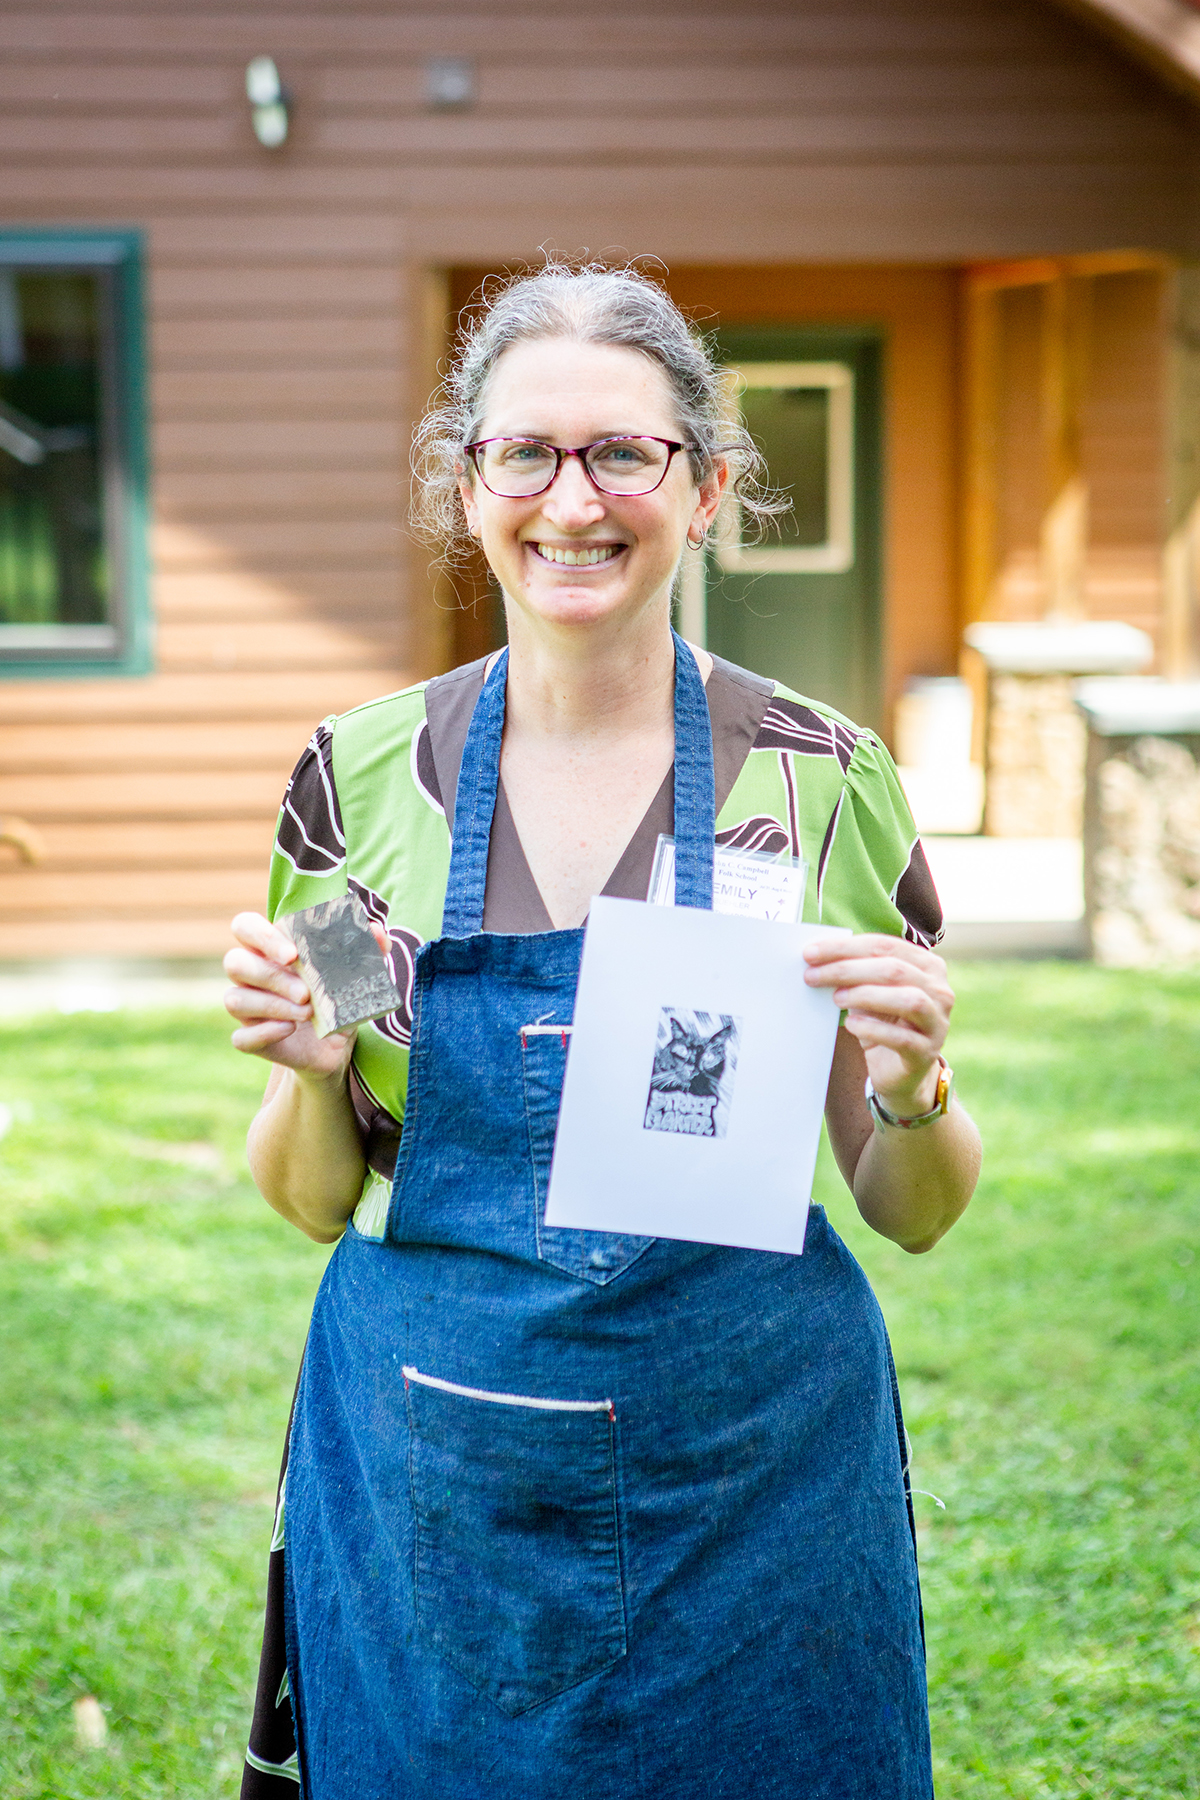
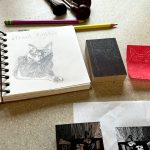
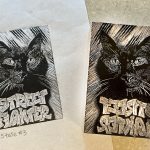
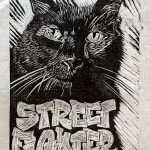
I arrived at the Folk School with my brain tired from work and empty of ideas. For my first block, I scrolled through the photos on my phone and came to one of my cat Blackwell. I’ve heard it said that black cats are hard to photograph . . . but it turns out they are great for wood engraving with black ink! As Joanne said, wood engraving is perfect for fur and feathers.
First we tinted our blocks with a tiny bit of black ink, which made it easier to see the places where cuts were made. I sketched Blackwell and used tracing paper and transfer paper to put the image on the block. I decided to use this sketch as a rough outline only, and to refer to the photo when engraving the details. As I carved, I could rub white chalk onto the block to better show the cuts.
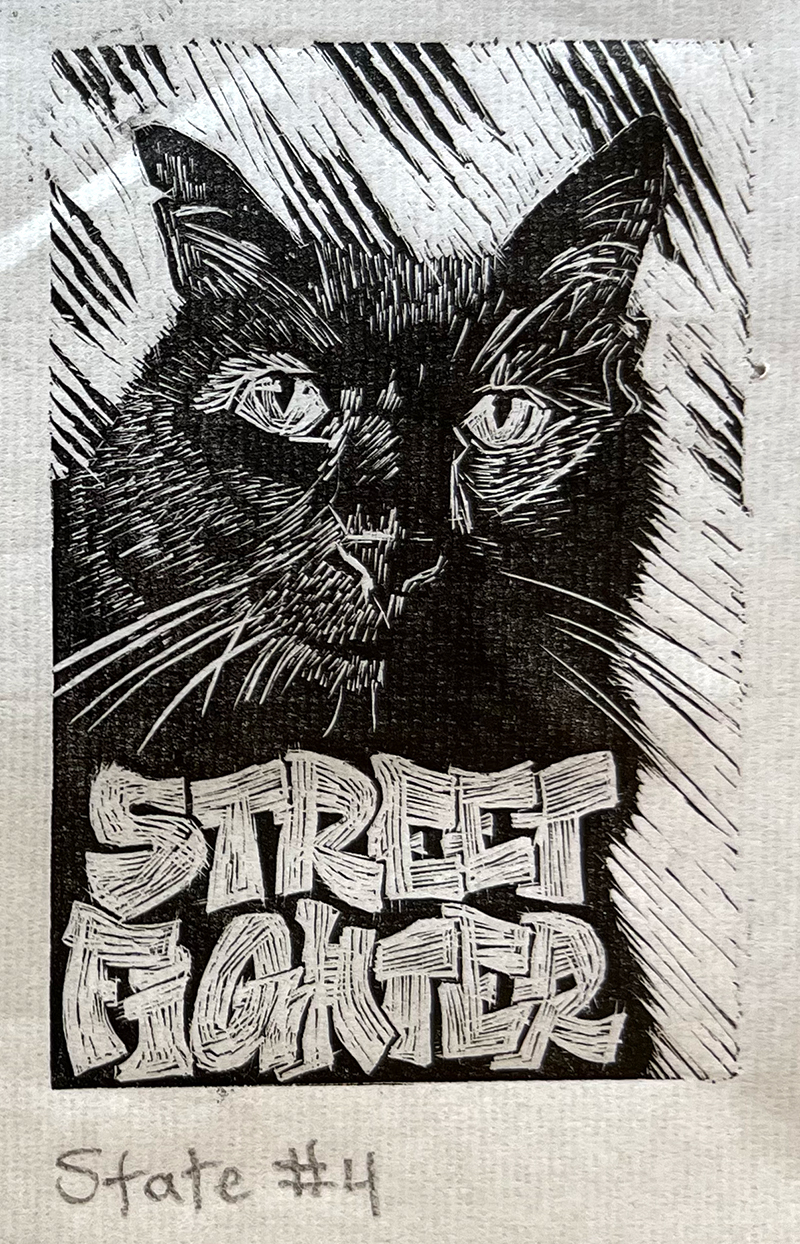
My original plan included using type to write “Street Fighter,” which is what my partner calls Blackwell. (He’s an indoor, retired street fighter now.) I decided to carve the lettering instead so that I could make it look like graffiti. For the background, I considered lines or a flowery pattern but decided on Wolverine-like claw marks—but five marks instead of three, as befits a cat.
When it was time to pull a print, I dusted off the block and applied a thin coat of ink with a rubber brayer. I lowered the thin paper onto the block and rubbed with a burnishing tool to transfer the ink. After four proofs, Street Fighter was done!
Printing Street Fighter
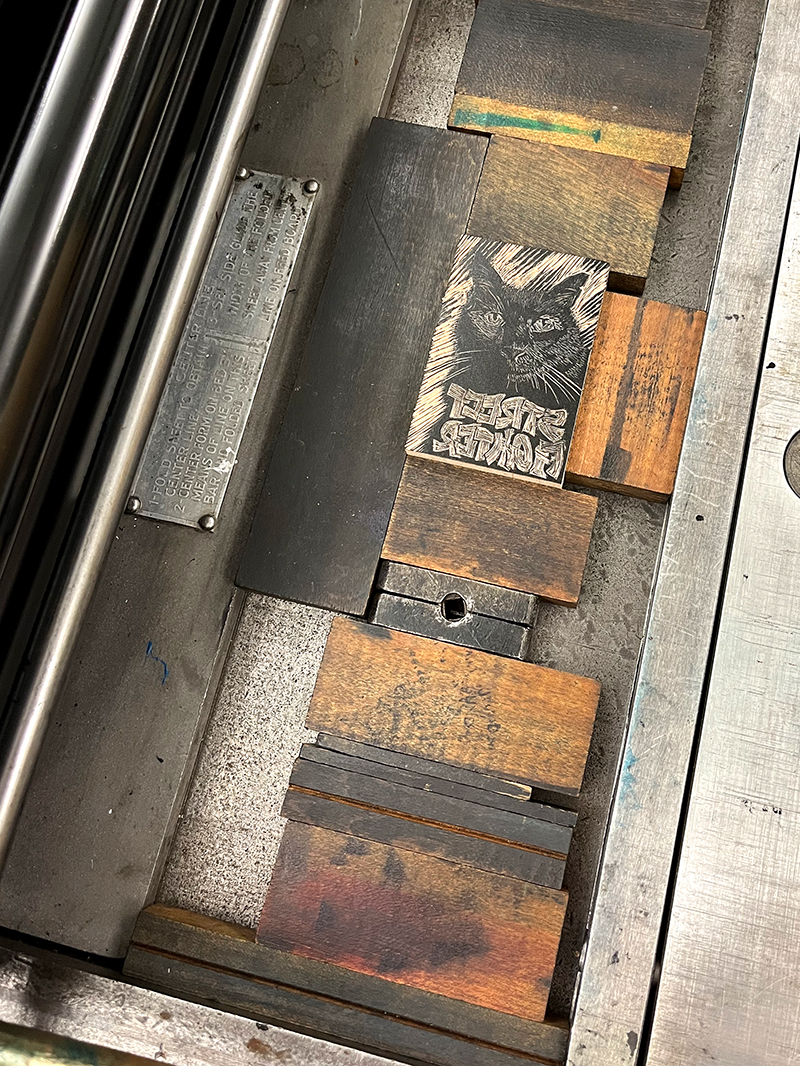
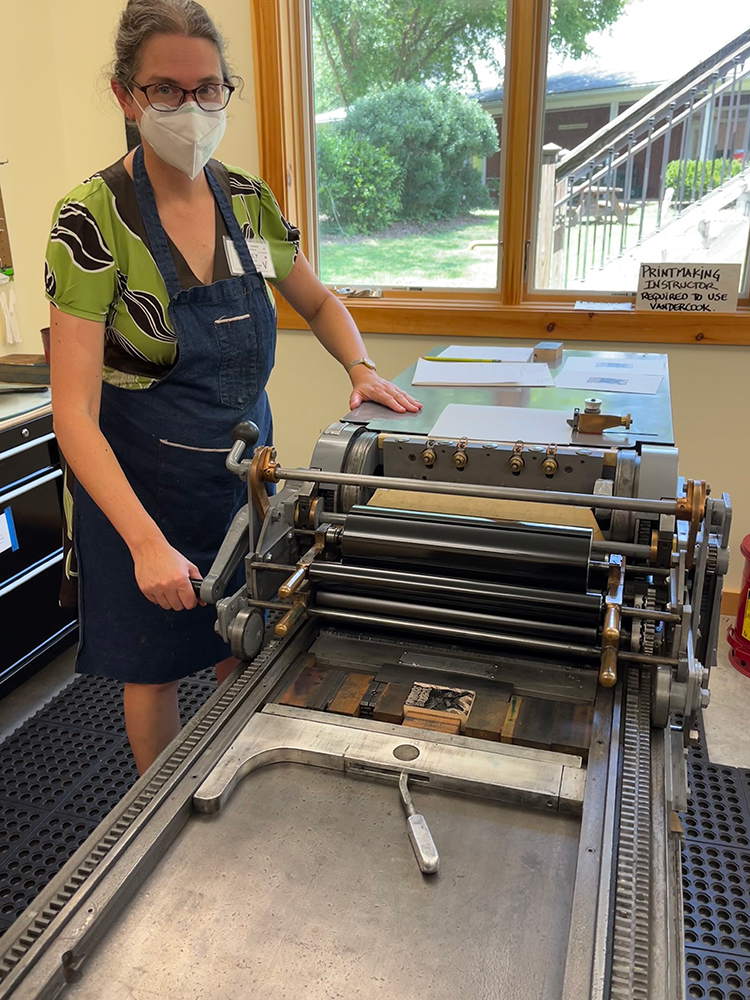
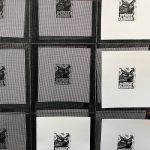
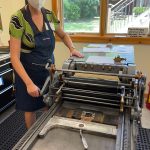
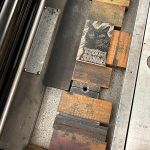
Roseanne and I headed to the press. We would act as “printing buddies” to help each other make sure we didn’t forget any steps. We set my block in the center of the bed and secured it in place using wooden pieces called “furniture” and metal clamps. We made a rough guess of where the paper should be to align it with the block, did a test print, and made adjustments until the image was centered on the paper.
Then we were off! We were using the fancy press, which has a series of rollers that disperse ink evenly. We rolled the ink over the block a few times, then positioned the paper with backing papers to create the exact right amount of pressure, and rolled the paper over the block. Small adjustments like an extra pass of ink over the block or an extra sheet of backing paper could make a big difference.
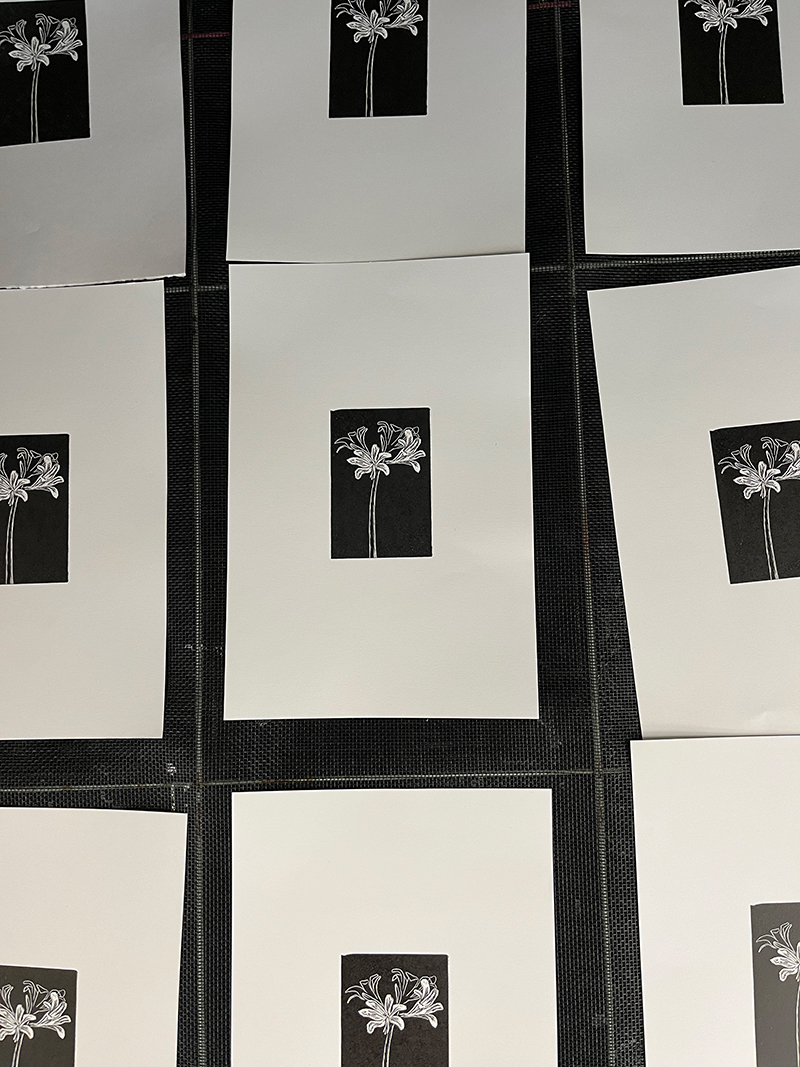
The press made delightful “kachunka” noises. As I printed my block, Roseanne helped me check each print against the standard to make sure it matched, and then carried the prints to the drying rack.
Another great week at the Folk School
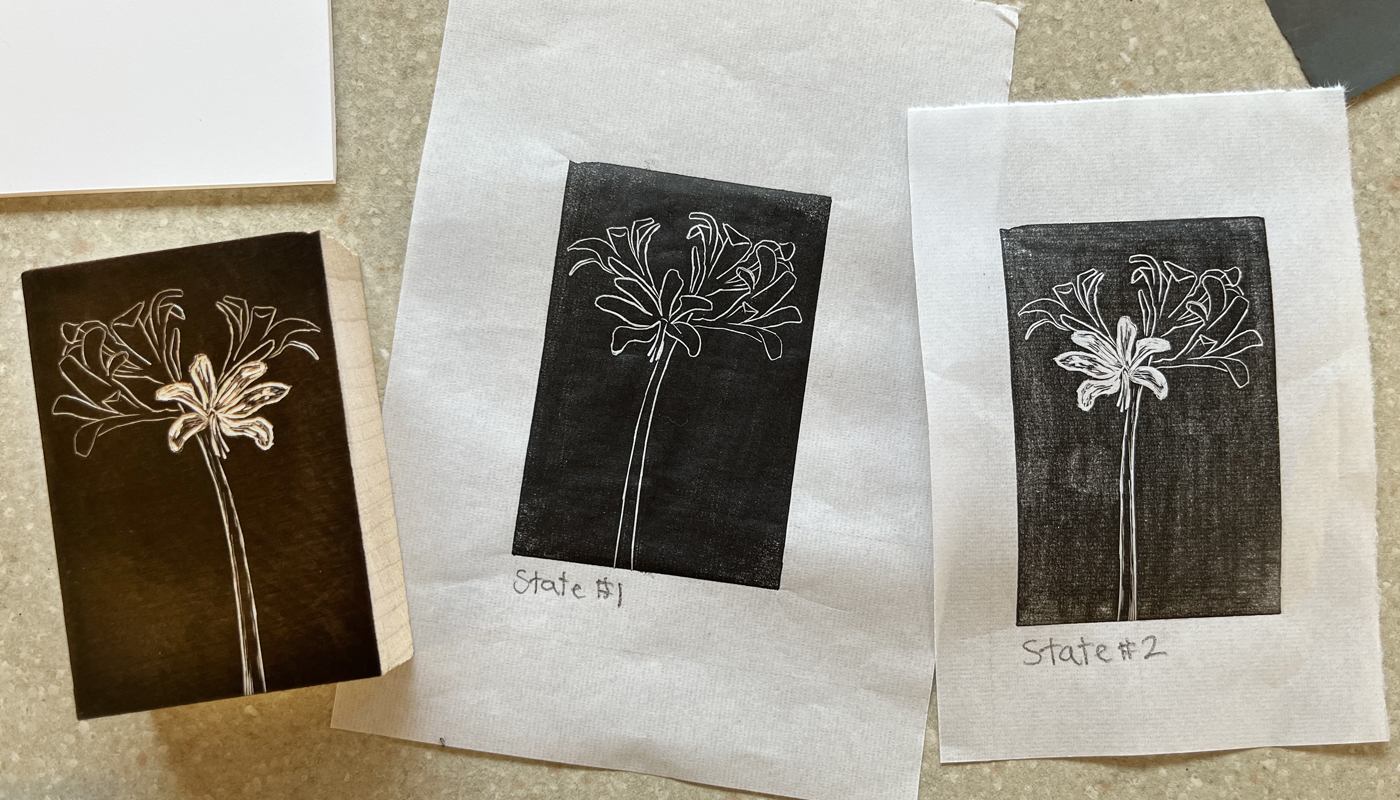
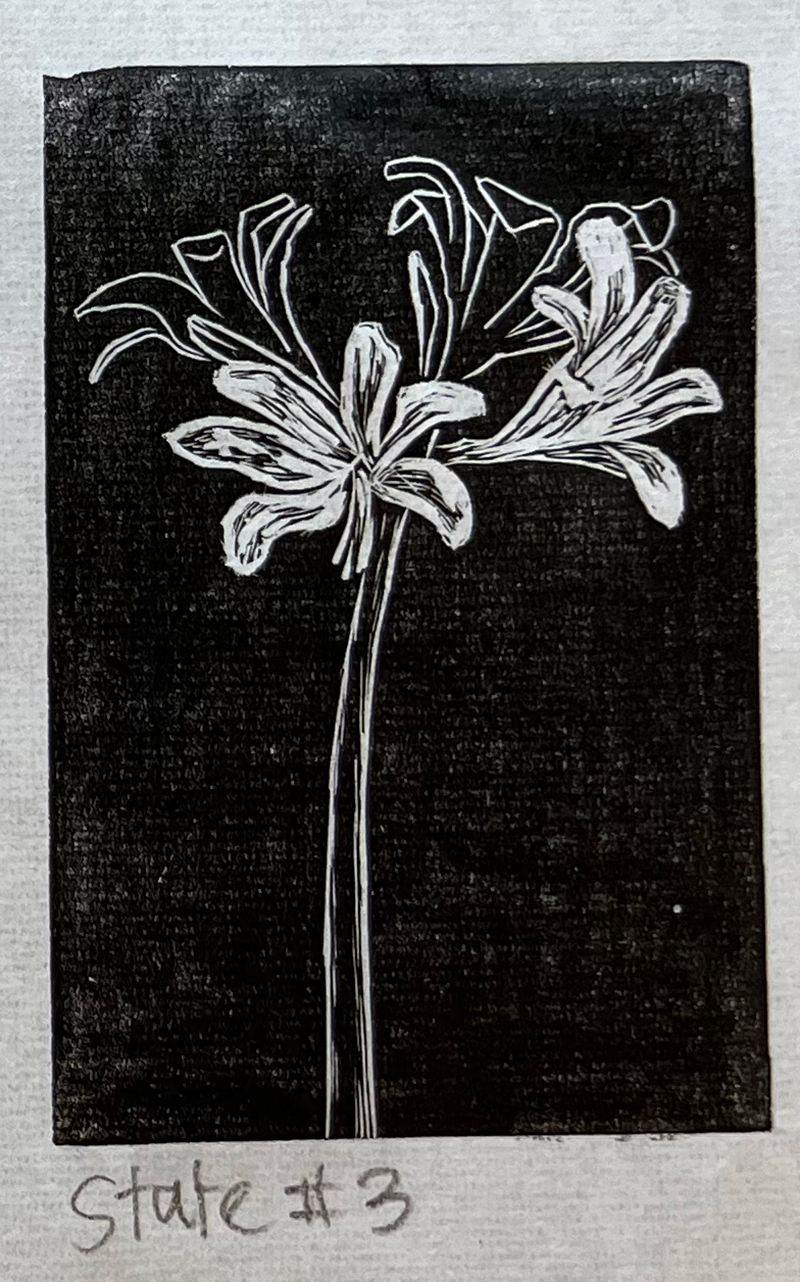
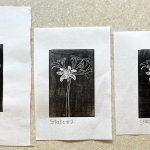
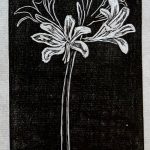
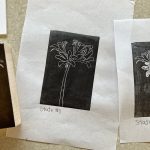
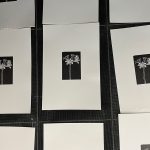
The other students created a variety of prints, from animals to buildings to landscapes and even abstract designs with typeset words. I worked slowly and finished my first print with only a day left, so I picked a simpler topic for a second block: the “naked lady” lilies blooming outside Keith House. On Friday afternoon, the class participated in a wood engraver tradition: a print exchange of one of the prints we had made.
Taking wood engraving class was a great way to spend a vacation. It was a relatively simple process, but with a rich history that Joanne shared with the class. It helped me slow down and relax, and I came home with enough prints to share with friends—and the cat-sitter!
Wood Engraving Class Photo Gallery
About Emily Buehler
Emily Jane Buehler completed graduate school in chemistry and worked six years as a bread baker before realizing she wanted to be a writer. Her first book, Bread Science, explores the science and craft of baking bread. Her second book, Somewhere and Nowhere, is a memoir of a bicycle trip from New Jersey to Oregon that explores the benefits of living in the present moment. Emily currently writes romantic fiction. She is also a freelance copyeditor. She teaches bread-making classes and continues to travel by bicycle.






No Comments