
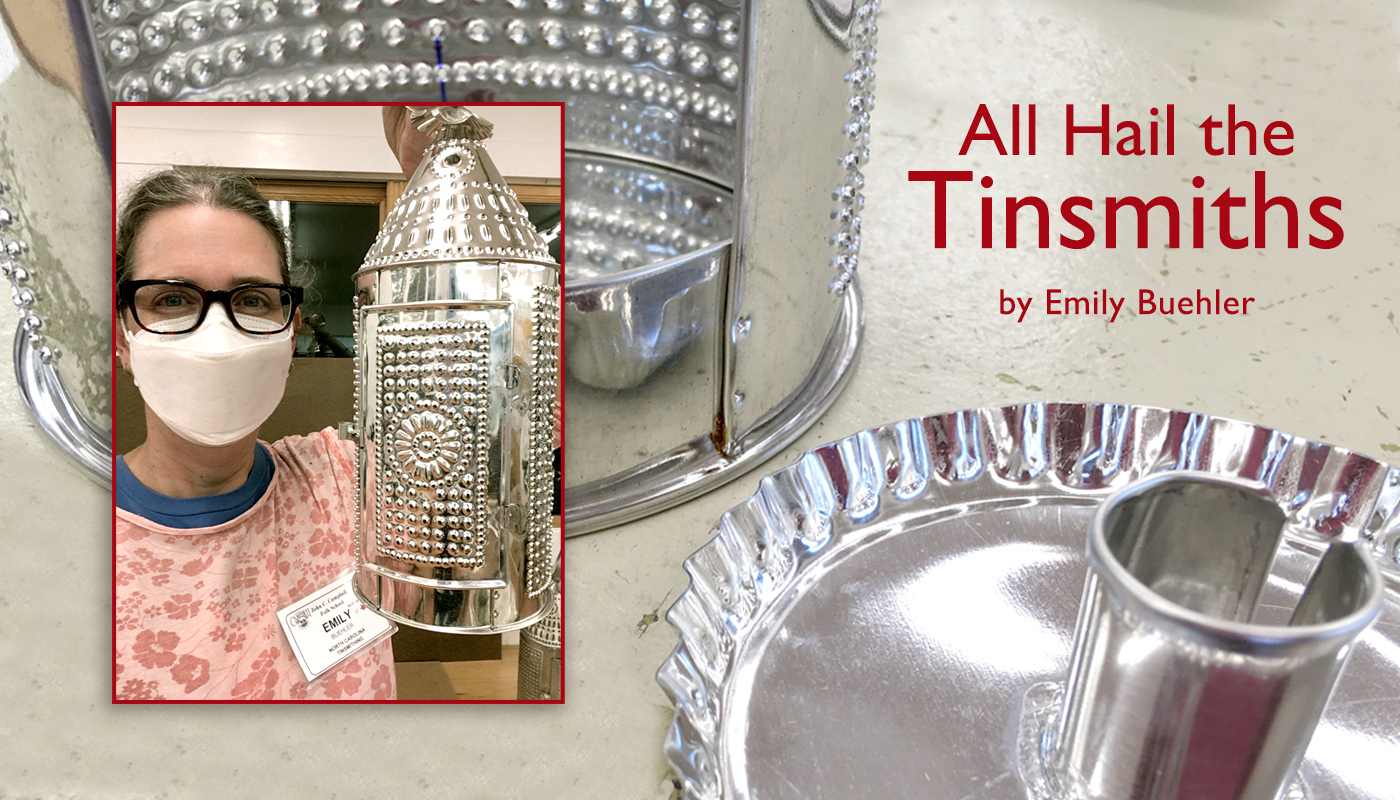
28 Oct All Hail the Tinsmiths
Tinsmithing. It doesn’t have the glamorous appeal of blacksmithing, with roaring fires and muscular hammering and sparks showering off of thousand-pound anvils. Many people overlook the quiet tinsmith, but I’ve always liked the occasional tin cup at the thrift store, and who doesn’t love cookie cutters? So, with no idea how tin objects are actually fabricated, I signed up for “Tinsmithing Basics” with Mike Houser and Jim Kuchinick.
Tinsmithing Tools
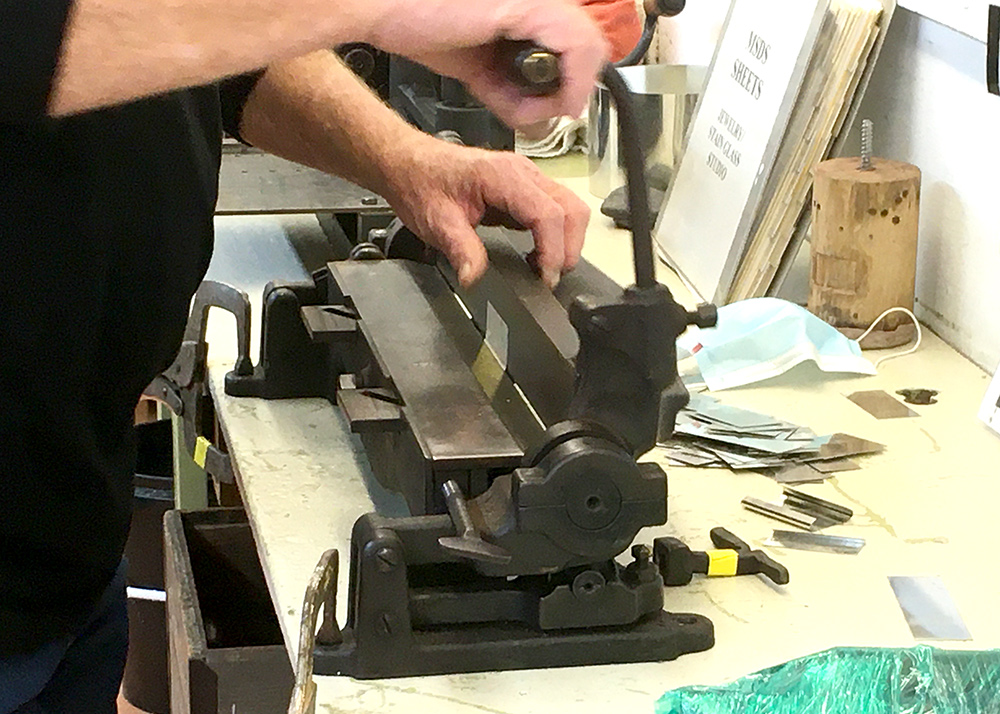
I arrived at the metalworking studio to find a strange landscape of heavy tools and machines. These included long machines for chopping and folding sheets of metal and cranked machines with various rotating disks to create beads and folds along edges.
All these formations could be made with a hammer, but (like a paper cutter or a treadle sewing machine) the tinsmithing tools and machines enabled high-quality work at a faster speed. Many developed when tinware production increased in American in the 1800s, and the ones we used in class actually dated back that far!
Of course there were also hammers—in metal, wood, and rubber, with various shapes and sizes for different tasks—as well as tin snips and crimpers and pliers and punches and chisels and more. And there were patterns. Just as a dress is made by tracing a pattern and then cutting and assembling the parts, so is a tin cup or lantern.
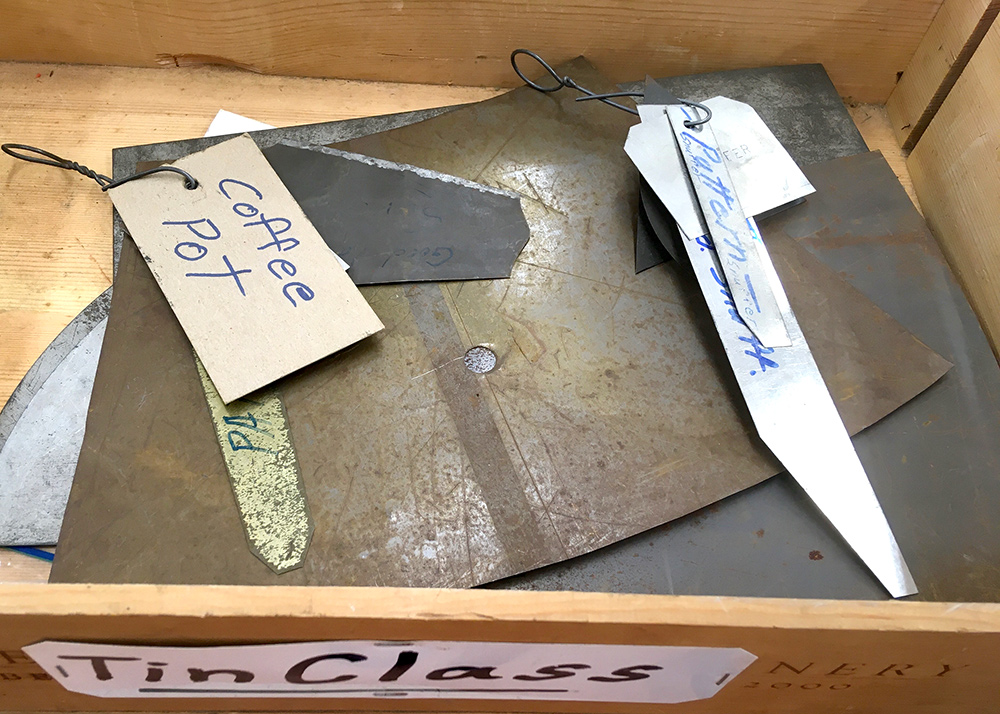
Tools & Patterns
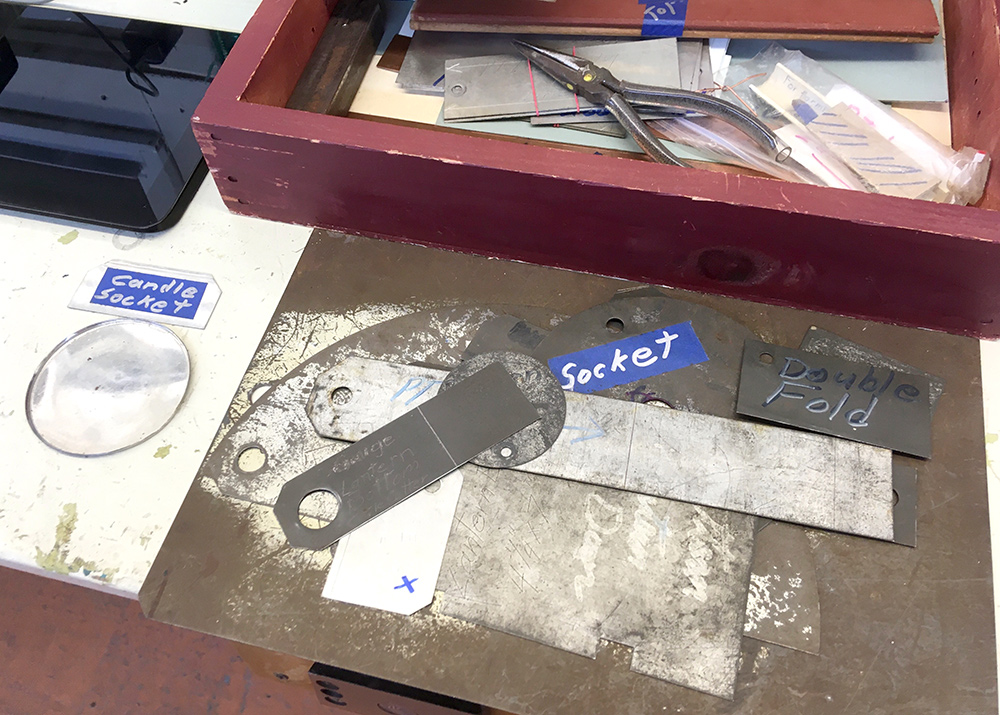
Tools & Patterns
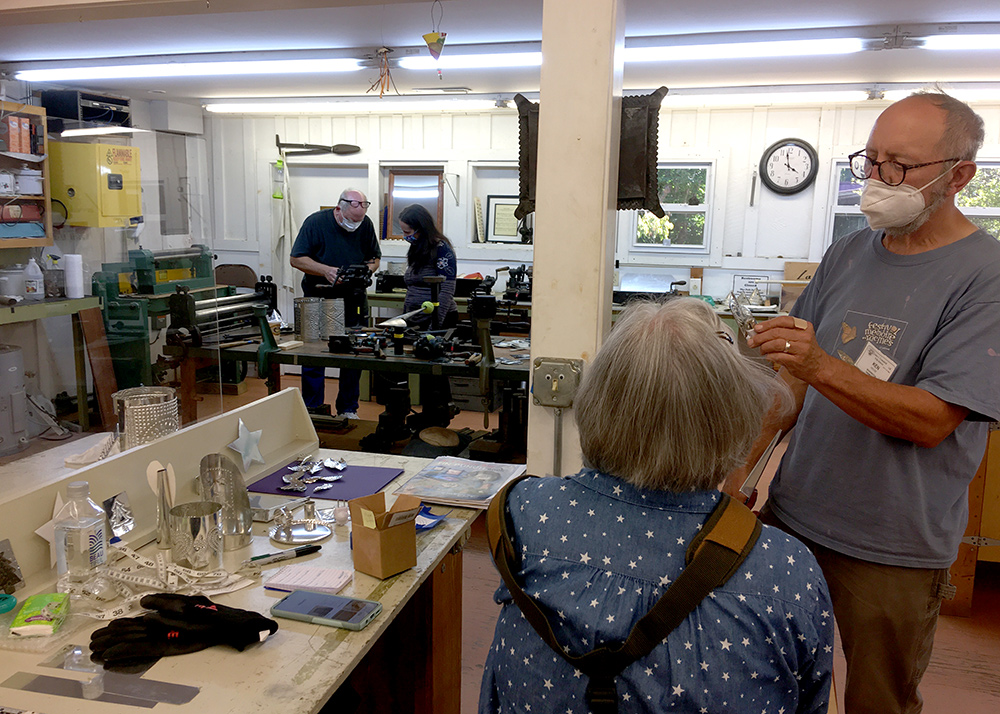
Metalwork Studio
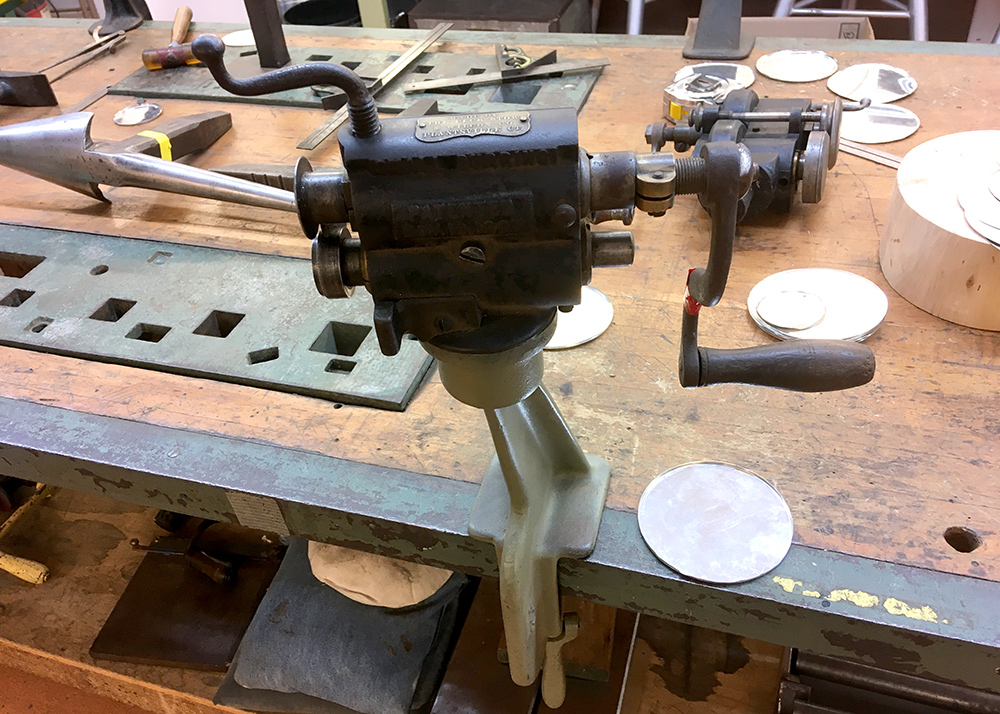
Burring Machine
Folding Device
How to Make a Tin Lantern
I chose to make a pierced tin lantern. The first task was to punch the design on the pieces for the lantern body, door, and top. This meant striking the metal with the punching tools and a hammer to create each hole and slot.
The punching creates one smooth side and one rough side, and surprisingly, the rough side faces outward. The rough edges act like tiny baffles, shielding the candle flame from wind and rain. Mike once tested a lantern in 35 mile per hour winds and it stayed lit! Historically, the lanterns were used for carrying a flame, not illumination. (This makes it unlikely that Paul Revere or the Old North Church used such a lantern to spread the news of the British military’s arrival, in spite of the lantern often being called a Paul Revere lantern.)
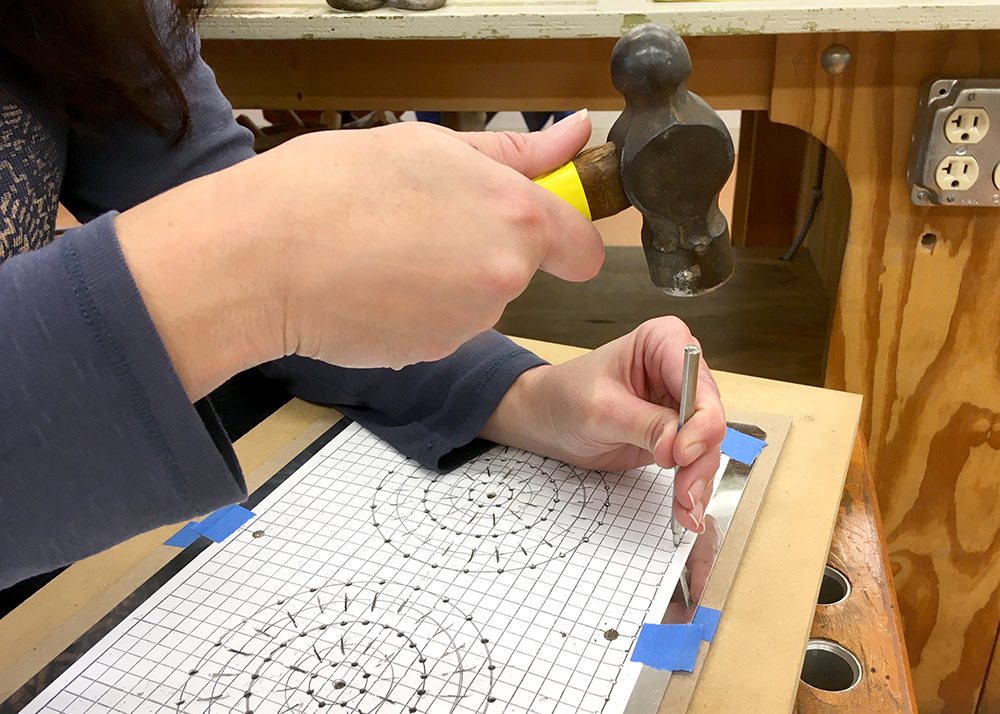
Punching the Lantern
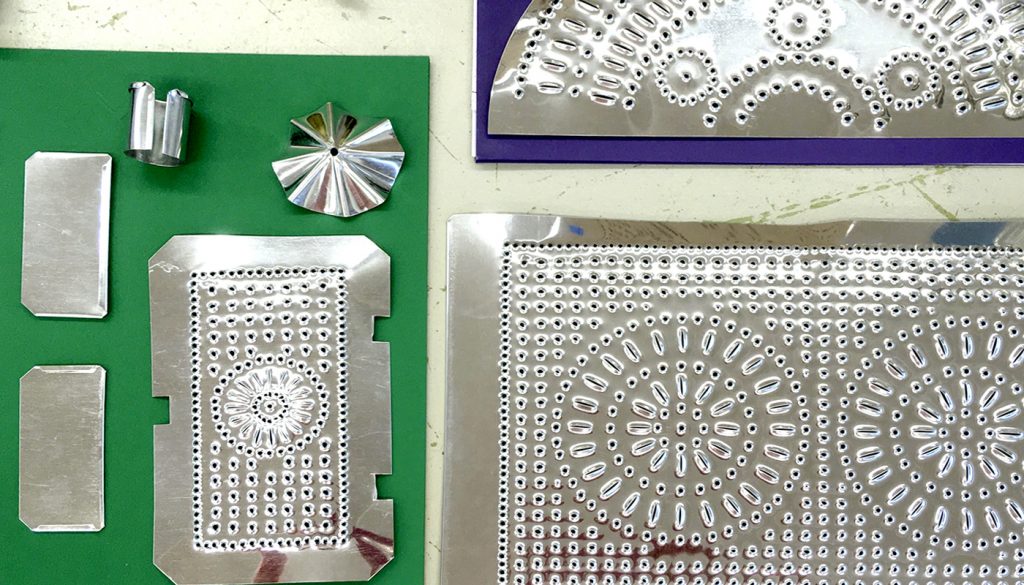
Lantern Pieces
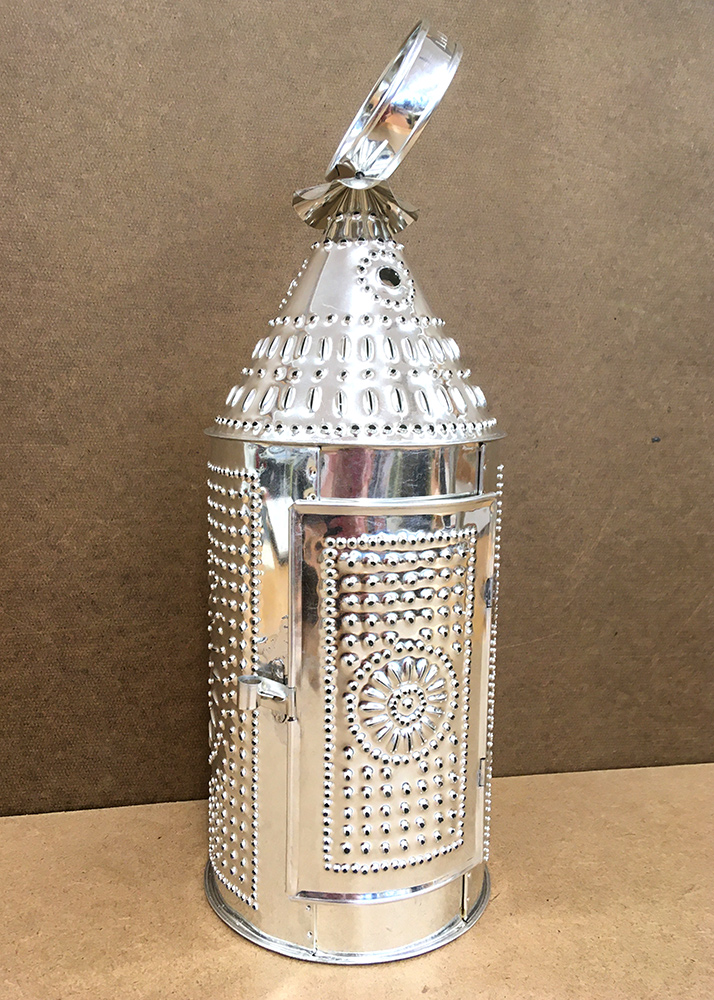
Finished Lantern
After punching, we rolled the pieces by hand to curve them and soldered to hold them together, creating the tube of the lantern. We burred the edges, and the lantern bottoms and tops snapped on like the top of an oatmeal canister (with some additional tinkering). The “setting down hammer” followed by the “setting down machine” folded the edges to create a tight mechanical fit. We folded a wire into the edges of the door and soldered on hinges and a latch to hold it in place. The final steps were wiring a baffle and handle on the top, and curling the door latch, which gives it a snug fit.
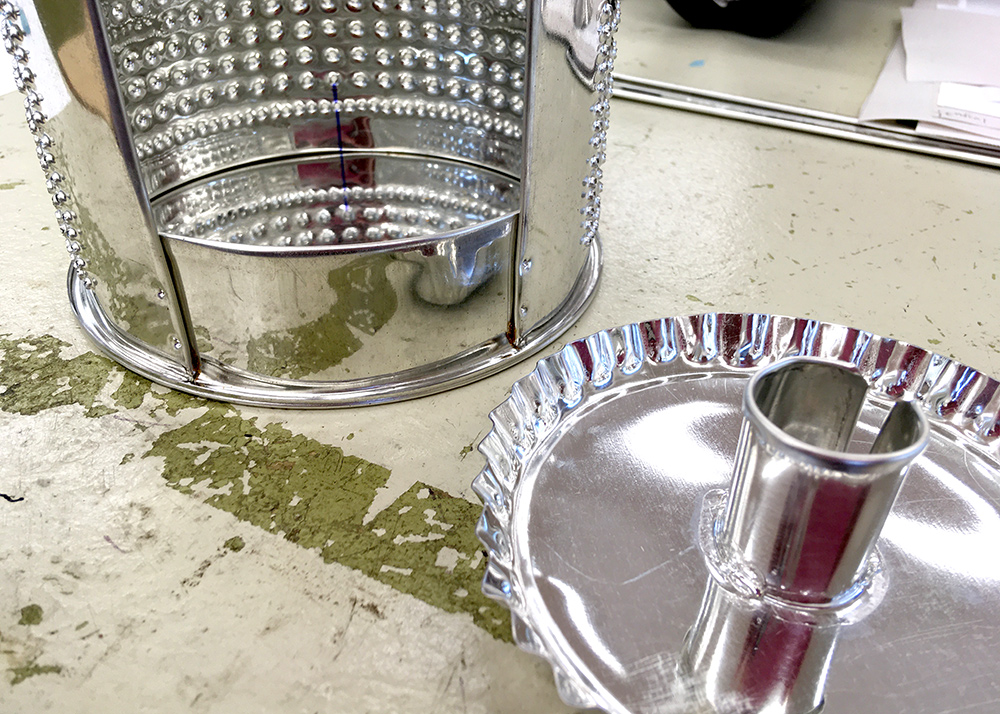
Lantern & Removable Candle Holder
In addition to lanterns, my classmates cut out and assembled everything from holiday ornaments to candle holders, cookie sheets, nightlight shields, scoops, and of course tin cups. I made a coffee cup decorated with a drawing of my partner’s beloved Toyota T100 (punched with a dulled punching tool and a wooden hammer, to avoid making holes).
Sometimes it’s frustrating to learn something brand new, especially when I’ve “gotten soft” with years of routine. And the lantern was an advanced project; part of me envied the students making a plethora of simpler projects. But as I struggled through some of the harder parts of tinsmithing, like punching a gazillion holes or mastering the dreaded burring machine, I was glad to be challenging myself again.
Learning from Tinsmithing Masters
Once the lantern designs were punched, it took us two days to assemble them. I’m pretty sure that Mike could have assembled one in fifteen minutes. He and Jim seemed like American treasures of tinsmithing, and I think we all felt lucky to be learning from them.
Many times, they showed us small adjustments or tips to achieve a better outcome—such as “hammering on air” and beginning at the edges at the start of a bending procedure to get a nicer shape. Between showing us each step and adjusting the machine settings, Mike regaled us with stories of old times at the Folk School and his adventures in tinsmithing.
Our time in the metalworking studio felt special, almost like we’d gone back in time. The night we finished our lanterns, we lit one and took it outside for a “spin test” (it passed). Seeing the lantern in the dark with its myriad points of light glittering like diamonds was breathtaking.
I wondered if an 18th century farmer or blacksmith noticed the lantern’s beauty each time they used it. Using such a decorative lantern or other beautiful objects to do mundane chores seems like another version of the Folk School’s motto of “I sing behind the plow.” It’s hard to imagine the lanterns’ early users not having a moment of joy each time they stepped out into the dark night with their lanterns glowing.
No Comments