
17 Jun Learning to Take Risks in Teaching and Bread-Making
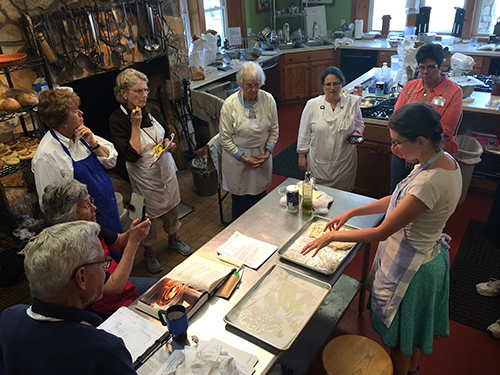
Emily demonstrates how to shape focaccia dough to the class
You wouldn’t start your oil painting career at an easel on the midway of the state fairgrounds, surrounded by people, tents, and trees with the sky overhead and the light shifting throughout the day. Instead you’d set up some apples on a tablecloth, lit by a desk lamp to create obvious shadows that don’t move. Once you’d practiced how to capture a simple scene—sketching it out, building the shadows, painting the background to make the objects pop—you’d move on, maybe to a plant or some dishware.
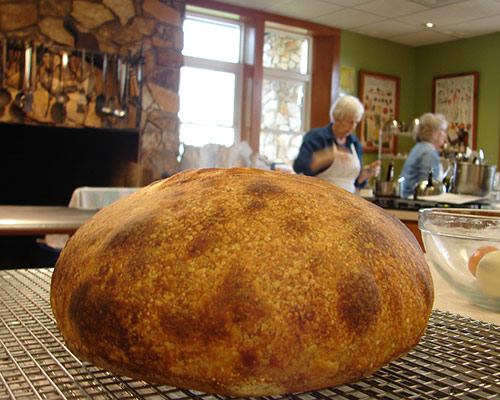
Finished loaf
Similarly, last week’s “Science of Bread” class started with the most basic bread possible: a French baguette made with flour, yeast, water, and salt. Each student made a pair of baguettes on Monday, with the class moving one step at a time. Keeping everyone on one schedule enabled me to demo each step of the process (kneading, folding, shaping, baking) as it happened. While the doughs rose, we discussed the chemistry occurring inside and how it affects the final product. We covered practical tips for managing dough at home, like using a desk lamp to keep rising dough warm in winter months; best practices, like using a pizza stone in the oven (and how to use it properly!); and tricks to get better bread, like preheating your oven hotter than desired to make up for the heat lost when the door opens to load the dough.
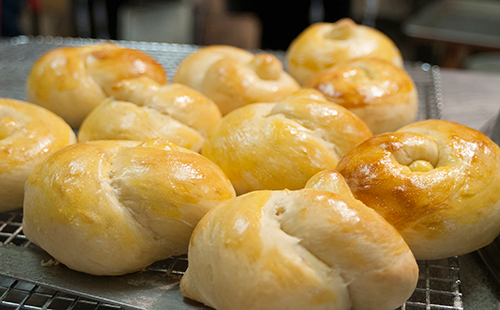
Challah rolls
My goal was to give the students a good foundation that they’d use throughout the week as they moved on to other breads. This worked well for a class with varying levels of experience. Some students stuck to the syllabus, making French baguettes a second time to nail down the process and then moving on to other basic breads like sourdough and ciabatta. Other veered off from the syllabus immediately to try out breads they’d always wanted to make. By Tuesday afternoon, we had challah rolls, biscuits, and even a pizza in addition to a new crop of baguettes and ten sourdough boules.
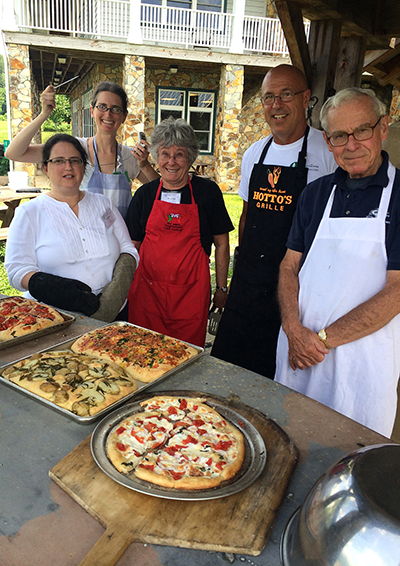
Pizza and focaccia baked in the wood fired oven
Teaching bread class was not always this flexible. When I first started, I had the entire class planned to the minute: knead dough A, gather to discuss chemistry, knead dough B, punch-and-fold dough A, go to lunch, return to shape both doughs… and on and on. It took a huge amount of effort to keep all the students on schedule and to fill each minute with interesting facts and new information. I was scared of what would happen if I didn’t keep the class under control.
Wanting each student to have a fulfilling class experience motivated me to relax. Once I started asking the students what they hoped to make in the class, it was a huge relief to let go of my rigid plan. Similarly, relaxing your control over your dough might lead to better things: if you make a recipe following exact instructions each time, without paying attention to the needs of the dough, you may never discover that it could work even better.
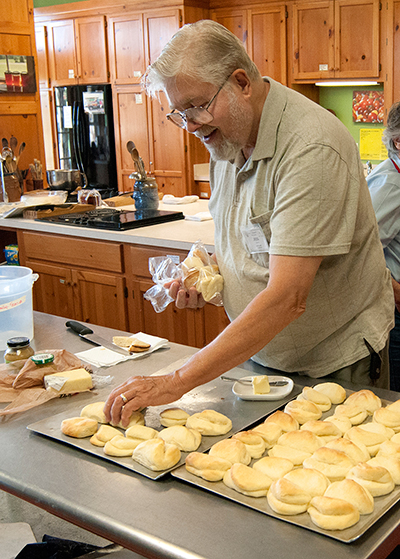
Parker House Rolls
Accidents and failures are also not to be feared. For example, the procedure the class followed for sourdough mirrored what I’d learned working in a bakery: after shaping the dough, the loaves were put into the cooler overnight, then pulled out in the morning to warm up and continue rising before going into the ovens. This worked, but the loaves never rose as much as I expected. It’s hard to tell what stage a loaf is at after a night in a cold fridge. Should we wait longer before baking them? Or shorter? The only way to find out was to bake them at different times. (Of course, controlled experiments are difficult to carry out in a class with ten different bakers!)
This year, one student accidentally left her sourdough loaf out for over an hour, so in the morning, we pulled it from the fridge and put it straight into a preheated oven, and it expanded beautifully. This new procedure might work better in the class, where students are still gaining experience at shaping loaves tightly.
This sourdough loaf rose for two nights instead of the usual one night. The class agreed that it had an even better flavor. Blisters develop on dough in the refrigerator, and this loaf developed large blisters that burned in the oven.
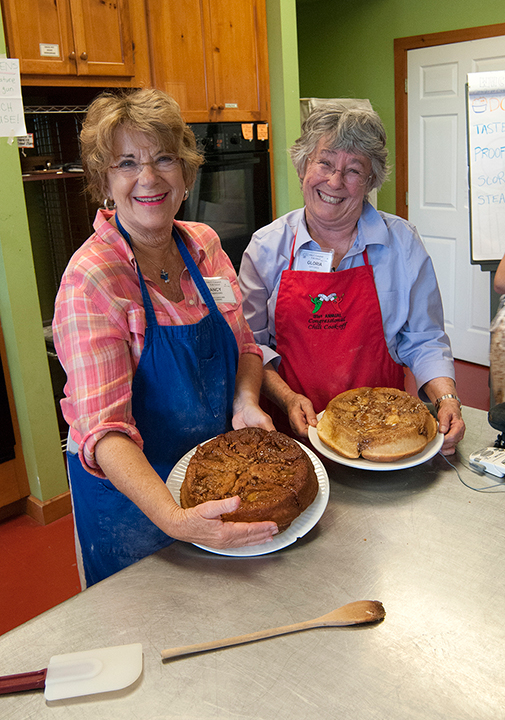
Sticky Buns
The class does a sourdough “taste test” where one loaf is baked the day the dough is mixed; the others follow the usual procedure of waiting overnight before baking. Sour flavor develops with time. This year, one student allowed her dough to sit for two nights, even though it meant that the dough might not expand in the oven. To my surprise, her dough still rose, and everyone agreed that the two-day sourdough had the best flavor. When it comes to bread, risks can pay off in delicious ways.
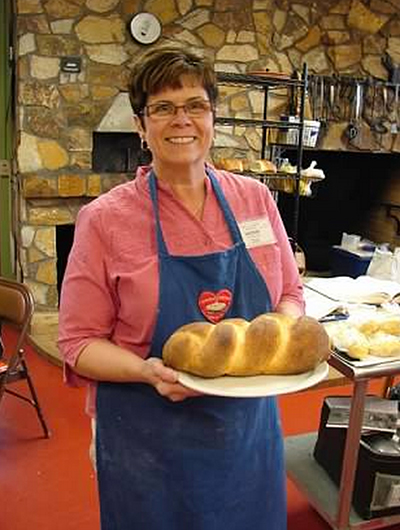
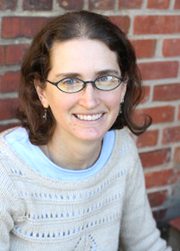 Emily Buehler, the author of this blog, is also an instructor of Bread Making at the Folk School. She became a bread baker in 2001, intending to take a break after finishing a degree in chemistry. Six months later she began teaching bread classes. Emily has written a book on bread making – techniques, not recipes – that includes a section on the science occurring in the dough. (Chemistry does come in handy!) Visit Emily’s website
Dave Smucker
Posted at 09:04h, 18 JuneEmily, Great write up on your class. One of the best classes I have taken at the Folk School for anyone wanting to improve their bread making.
Dave Smucker, Bread Maker and Blacksmith
Emily Buehler
Posted at 16:31h, 22 JuneThanks Dave!
Shannon
Posted at 16:42h, 22 JuneLove and embrace this theme of risk-taking!